
Introduction
Installing a network adapter using a USB bootable drive can be essential for setting up or troubleshooting network connectivity on your computer. This guide will walk you through the process, ensuring you have all the necessary steps and tips to successfully complete the installation.
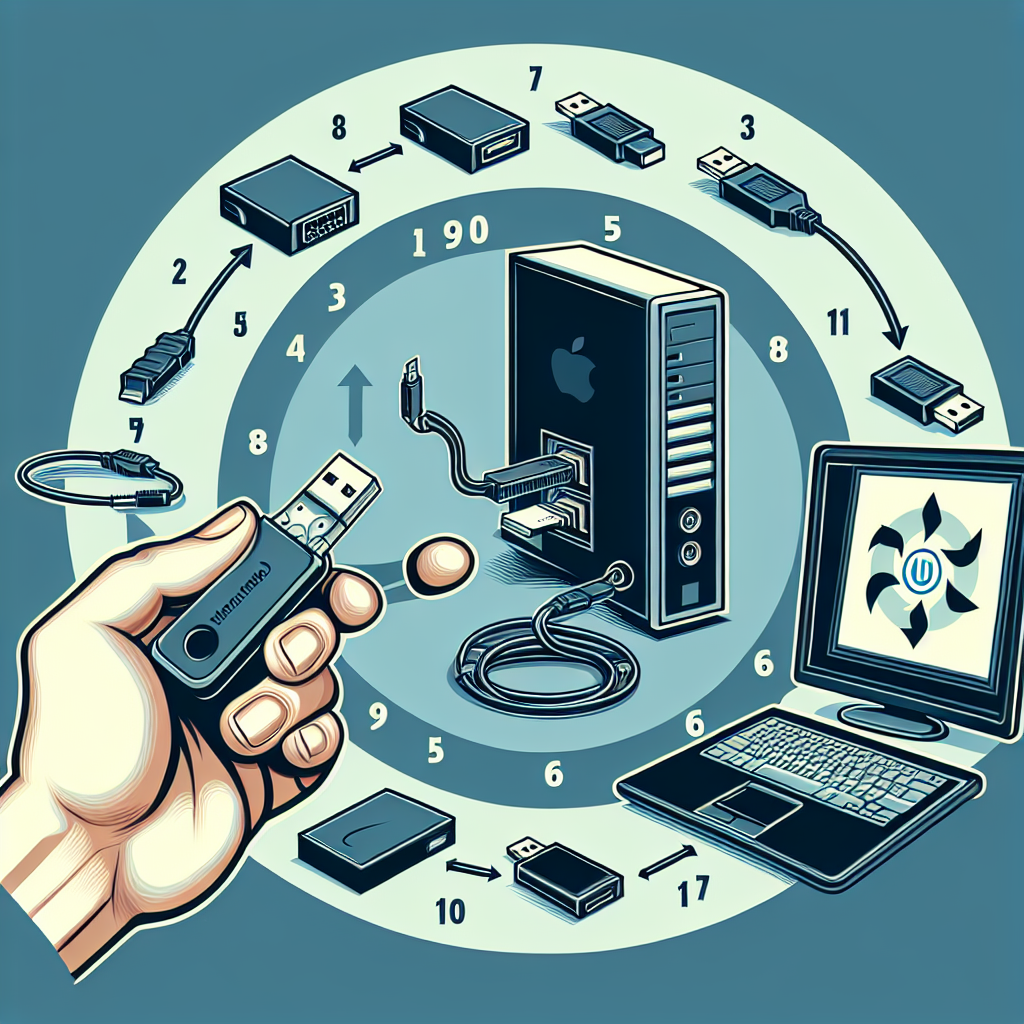
What You Will Need
- Network adapter hardware
- USB bootable drive with necessary drivers
- Internet connection for downloading software (if needed)
- Computer with USB ports
Preparing the USB Bootable Drive
Before you start the installation process, you must prepare your USB bootable drive.
Step 1: Download Necessary Drivers
First, visit the manufacturer’s website of your network adapter and download the latest drivers compatible with your operating system.
Step 2: Create a Bootable USB Drive
- Insert the USB drive into your computer.
- Use a tool like Rufus (Windows) or Disk Utility (Mac) to format and create a bootable USB drive.
- Copy the downloaded drivers onto the USB drive.
Installing the Network Adapter
Step 1: Shut Down Your Computer
Ensure your computer is fully powered off before proceeding with the installation.
Step 2: Insert Network Adapter
Depending on the type of network adapter, either insert it into an available PCI slot (internal network adapter) or into a USB port (external network adapter).
Step 3: Boot from USB Drive
- Power on your computer and enter the BIOS/UEFI settings (usually by pressing Del, F2, or Esc upon startup).
- Change the boot order to prioritize the USB drive.
- Save changes and exit the BIOS/UEFI settings.
- Your computer should now boot from the USB drive.
Installing Drivers from USB Drive
Step 1: Access the USB Drive
Once the computer boots from the USB drive, access the file system and locate the folder containing the network adapter drivers.
Step 2: Install Drivers
- Double-click on the driver setup file.
- Follow the on-screen instructions to install the drivers.
- Restart your computer once the installation is complete.
Configuring Network Settings
Step 1: Check Device Manager (Windows) or System Information (Mac)
Ensure the network adapter is properly recognized by your system:
- For Windows, open Device Manager and check for the network adapter under “Network adapters”.
- For Mac, open System Information and check under “Network”.
Step 2: Configure Network Settings
Configure network settings based on your ISP requirements or organizational policies:
- Open network settings from your system settings/control panel.
- Select your new network adapter.
- Enter any required configuration details such as IP address, subnet mask, gateway, and DNS servers.
Testing the Connection
Once the network adapter drivers and settings are configured, test the connection to ensure everything is working properly.
Step 1: Use a Network Utility
- Open a web browser and try to access a popular website.
- Use a command line tool (like ping or traceroute) to test connectivity.
Step 2: Troubleshoot Issues
If you encounter issues, refer to the troubleshooting section of your network adapter’s manual or the manufacturer’s support website for additional help.
Conclusion
Installing a network adapter with a USB bootable drive is a straightforward process when you follow the proper steps. Ensure you have the correct drivers and follow the guidelines to successfully install and configure your network adapter, thereby improving or restoring your network connectivity.