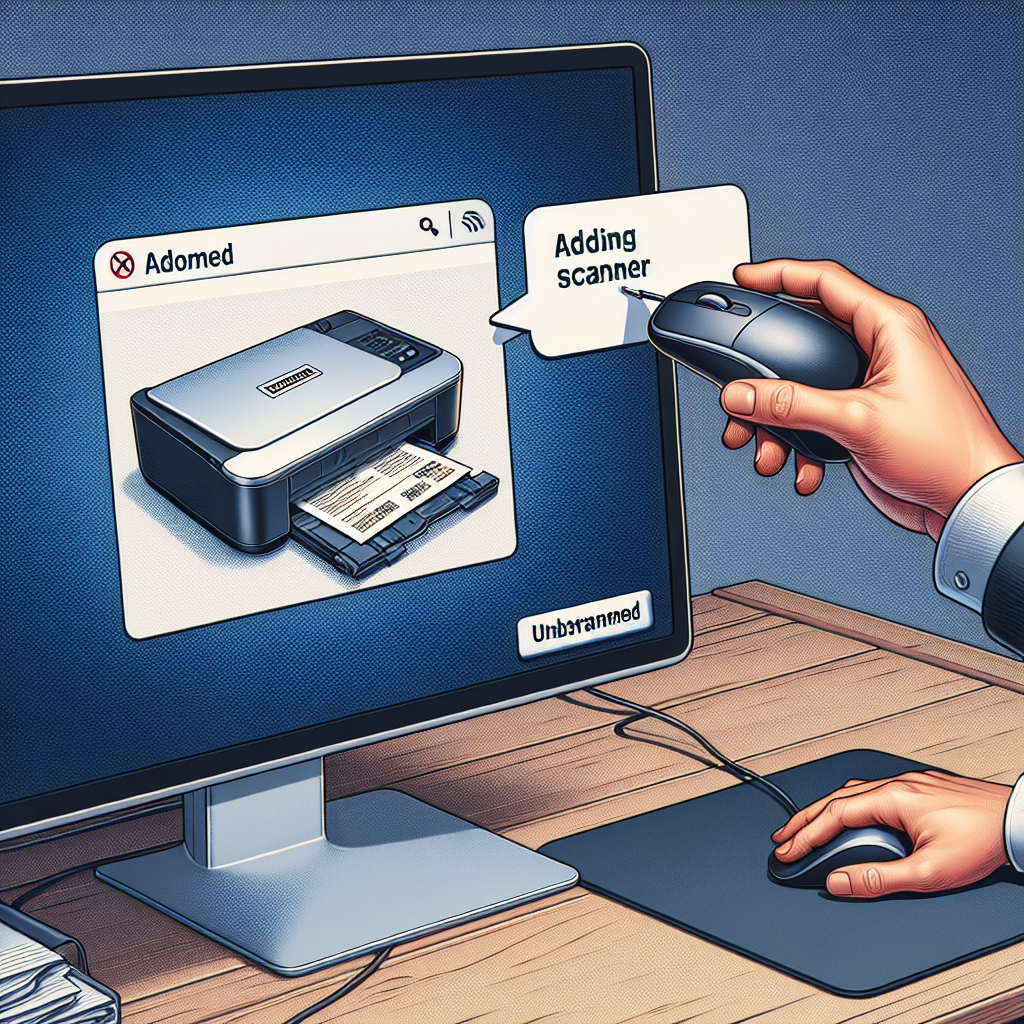
Image Capture is a handy macOS application that enables users to easily scan documents and images. However, adding a scanner to Image Capture can seem daunting if you’re not familiar with the process. In this guide, we’ll walk you through the steps to add a scanner to Image Capture so you can start scanning with ease.
Step 1: Check Compatibility
Before adding a scanner to Image Capture, ensure that your scanner is compatible with macOS. Most modern scanners work with macOS, but it’s always good to check the manufacturer’s website for any compatibility issues.
Step 2: Connect the Scanner
Connect your scanner to your Mac using a USB cable or wirelessly. Ensure that the scanner is powered on and has any necessary drivers installed. MacOS usually installs drivers automatically, but if it doesn’t, you may need to download them from the manufacturer’s website.
Step 3: Open Image Capture
Open the Image Capture application located in the Applications folder on your Mac. You can also find it by using Spotlight Search (press Command + Space and type “Image Capture”).
Step 4: Add the Scanner
With Image Capture open, your connected scanner should appear in the Devices or Shared list on the left side of the window. Click on your scanner to select it.
Step 5: Configure Scanner Settings
Once your scanner is selected, you’ll see various settings and options for scanning. You can adjust the scan resolution, size, format, and destination folder. Make sure to configure these settings according to your needs.
Step 6: Scan a Document or Image
After configuring the settings, place the document or image you want to scan in the scanner. Click on the Scan button, usually located at the bottom right of the Image Capture window, to begin the scanning process.
Troubleshooting Common Issues
If your scanner doesn’t appear in Image Capture or you encounter other issues, consider the following troubleshooting steps:
- Check Connections: Ensure all cables are securely connected and the scanner is powered on.
- Reinstall Drivers: Uninstall and reinstall the scanner’s drivers from the manufacturer’s website.
- Restart Devices: Restart both your Mac and scanner.
- Software Updates: Make sure your macOS and all related software are up to date.
Conclusion
Adding a scanner to Image Capture is a straightforward process that involves a few simple steps. By following this guide, you can seamlessly integrate your scanner with your Mac and start scanning documents and images efficiently. Should you encounter any issues, the troubleshooting tips provided should help resolve common problems.

